The Home Assistant SkyConnect dongle is supposed to be the easiest way to add Zigbee support to your Home Assistant instance and make it Matter-ready.
But it’s a bit more fiddly then that.
So here’s how we got it working with Zigbee2MQTT
This one was a challenging one.
The moving parts needed for this are:
- Home Assistant server (I have HAOS installed on an old Surface Pro)
- A secondary computer with Windows (you could probably do it on Mac, but I don’t have one, so Windows it is).
- SkyConnect dongle
- An MQTT broker installed on your Home Assistant or local network
- A whole lot of patience
If you have already been trying to get it working, with no luck then follow this first section, if it’s your first time configuring, jump futher down to the SkyConnect section.
Cleaning up previous attempted installations
First off, you need to clean up any previous attempts to get it working.
Uninstall any related add-ons like Matter / ZHA / Zigbee2MQTT and we are going to start as fresh as we can.
This is important, as some of the legacy settings left over by these add-ons can interfere with a clean configuration of the SkyConnect.
Flashing the SkyConnect
The key to this whole process is ensuring that the SkyConnect doingle is flashed with the correct firmware.
Thankfully, the very clever folks at Nabu Casa have thought of everything.
For the purposes of this walkthrough, we will be flashing with the ‘ezsp’ firmware.
So here we go:
- Grab your SkyConnect dongle and stick it in a separate computer (we chose Windows).
- In a browser (we used Chrome) head to https://skyconnect.home-assistant.io/firmware-update/
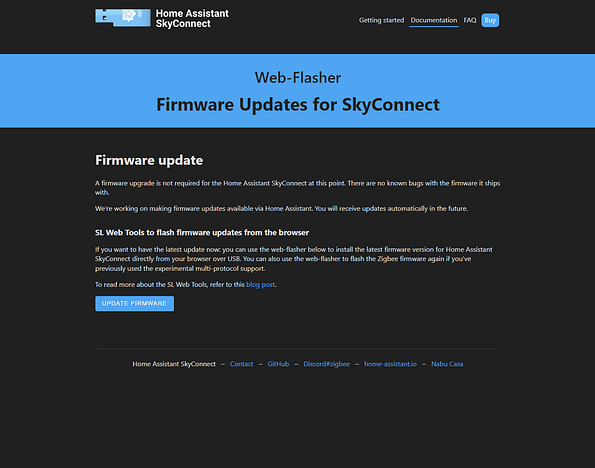
3. Click on the ‘Update Firmware’ box, which will in turn open up a dialog box asking you to select your SkyConnect dongle.
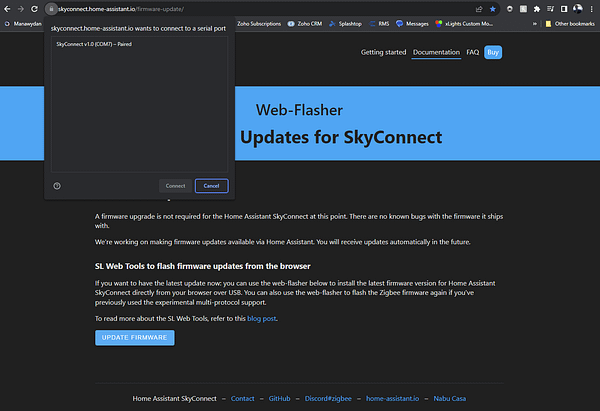
If your dongle isn’t detected, unfortunately we won’t cover that.
4. After you select your dongle and hit ‘Connect’ you will be asked what firmware you would like to flash.

This selection is the money maker. For the sake of this walkthrough, we are going to go with the Zigbee (EZSP) option.
5. Select the EZSP firmware as pictured above and hit ‘Install’. It takes about 5 minutes and will flash your SkyConnect with the fresh new and latest version of the EZSP firmware.
Configuring Home Assistant (OS)
Now we have a freshly flashed SkyConnect dongle, we are ready to head into Home Assistant.
Our chosen version, and the version we will cover here is Home Assistant OS (HAOS). We have ours flashed directly onto the computer we are using, but it is also commonly run through a VM manager like Proxmox.
So go ahead and plug that SkyConnect dongle into your HAOS computer and follow along:
- Restart your computer/VM to give it every opportunity to detect the SkyConnect dongle.
- Open up the Settings section of your Home Assistant installation.

3. Under the Settings screen, choose System.

4. Under the System screen, choose Hardware.

5. If your SkyConnect dongle has been detected, you should see a section near the top called ‘Home Assistant SkyConnect’ with a Configure link next to it. Click on the ‘Configure’ link.

6. DO NOT click anything in this window, just simple close it with the cross at the top of the window. If ‘Enable multiprotocol support’ is checked, you will need to start this walkthrough all over again as the mulitprotocol firmware will not work in Zigbee2MQTT (yet…. hopefully soon).
7. Back on the Hardware screen, click on the ‘All Hardware’ link to open up a list of all connected/detected hardware.

8. Find your SkyConnect dongle in the list. It will most commonly be under ‘ttyUSB’ with a number after it, depending on which USB port it is plugged into. Click on the entry for the SkyConnect.

9. Take note of a few things in this screen. First is to copy down the shortcut path (/dev/ttyUSB0) and second is the long path (/dev/serial/by-id/usb-Nabu_Casa……..)
The good news, if you have gotten this far….. it should be smooth sailing.
Installing Zigbee2MQTT
Now comes the fun part.
Getting Zigbee2MQTT installed and talking to the SkyConnect.
- Head back to our Home Assistant Settings page and select ‘Add-ons’. Click the ‘Add-On Store’ button in the bottom right of the screen.

2. In the top right of the screen click on the 3 dot menu and select ‘Repositories’

3. In the ‘Manage add-on repositories screen’ add the address for the Zigbee2MQTT repository. At time of publishing this article, it is https://github.com/zigbee2mqtt/hassio-zigbee2mqtt. Click the ‘Add’ button and it will close the dialog.
4. Restart your computer/VM to ensure that Home Assistant picks up the new repository.
5. Head back to our Home Assistant Settings page and select ‘Add-ons’. Click the ‘Add-On Store’ button in the bottom right of the screen.
6. Scroll down to find the Zigbee2MQTT section.
7. There are a few options to choose from, but for this article, we will be covering the mainstream ‘Zigbee2MQTT’ add-on. Click on it. And then in the following screen, click ‘Install’
8. Once installed, you will be presented with the Zigbee2MQTT info page.

9. The following settings are really your preference. I like my add-ons to ‘Start on boot’, enable the ‘Watchdog’ to restart them if they crash and ‘Show in sidebar’ creates a link on the sidebar to the add-ons Web UI.
10. Don’t start the add-on yet. On the top bar of the add-on click on the ‘Configuration’ link

11. The critical settings to change here are the MQTT section and the Serial section.
12. Under the MQTT section, fill our your MQTT server details. Keep in mind it is YAML so don’t add any extra spaces before each variable name:
server: mqtt://yourserver.here:1883
user: yourmqttuser
password: yourmqttpassword
13. Under the Serial section, you will need to paste the long address that you copied from the hardware screen (the previous section on SkyConnect dongle flashing). Remember to keep the formatting the same, with the same amount of spaces. Replace the ID with whatever yours was.
port: >-
  /dev/serial/by-id/usb-Nabu_Casa_SkyConnect_v1.0_322beb039791ed11bbe3c1d13b20a988-if00-port0
14. Hit Save on this screen and then head back to the ‘Info’ screen.
15. Hit Start and fingers crossed everything is working.
16. Open the Zigbee2MQTT UI and start connecting all your devices.
Hope that helped you and that you were able to get it working. If you’re struggling, please feel free to post a comment below and we will endeavour to help you.
2 Comments
tshan · November 22, 2023 at 15:17
Is there a way to use SkyConnect for both Z2Mqtt and Matter? If yes, is there a set-up guide for it?
Joel · November 22, 2023 at 17:03
Unfortunately at the moment, I haven’t been able to find a working configuration that allows both Matter and Z2M to run on the SkyConnect dongle.
They both require vastly different firmware to be able to run and hence the conflict.
I have read a review that ZHA and Matter play somewhat nice, but the author advised it wasn’t the most stable and had regular unexplained dropouts.